
How I Did It: Creative Edit
I have received a lot of questions on how I edited this image so I thought I would share this tutorial in the hopes it provides some inspiration. This was not a quick edit, so I tried to share what I did, in detail, for each step. Please let me know if you have questions. This edit was completed using Photoshop.
Here is the before image. This was my favorite of the images I captured of the subject skipping but there were two things I didn’t like about it. First, you can’t see her second leg (so she looks a bit like a pelican) and second, I thought her dress looked too bunched up. Since I had taken a number of images, I knew I could composite in the pieces I needed to fix these things.
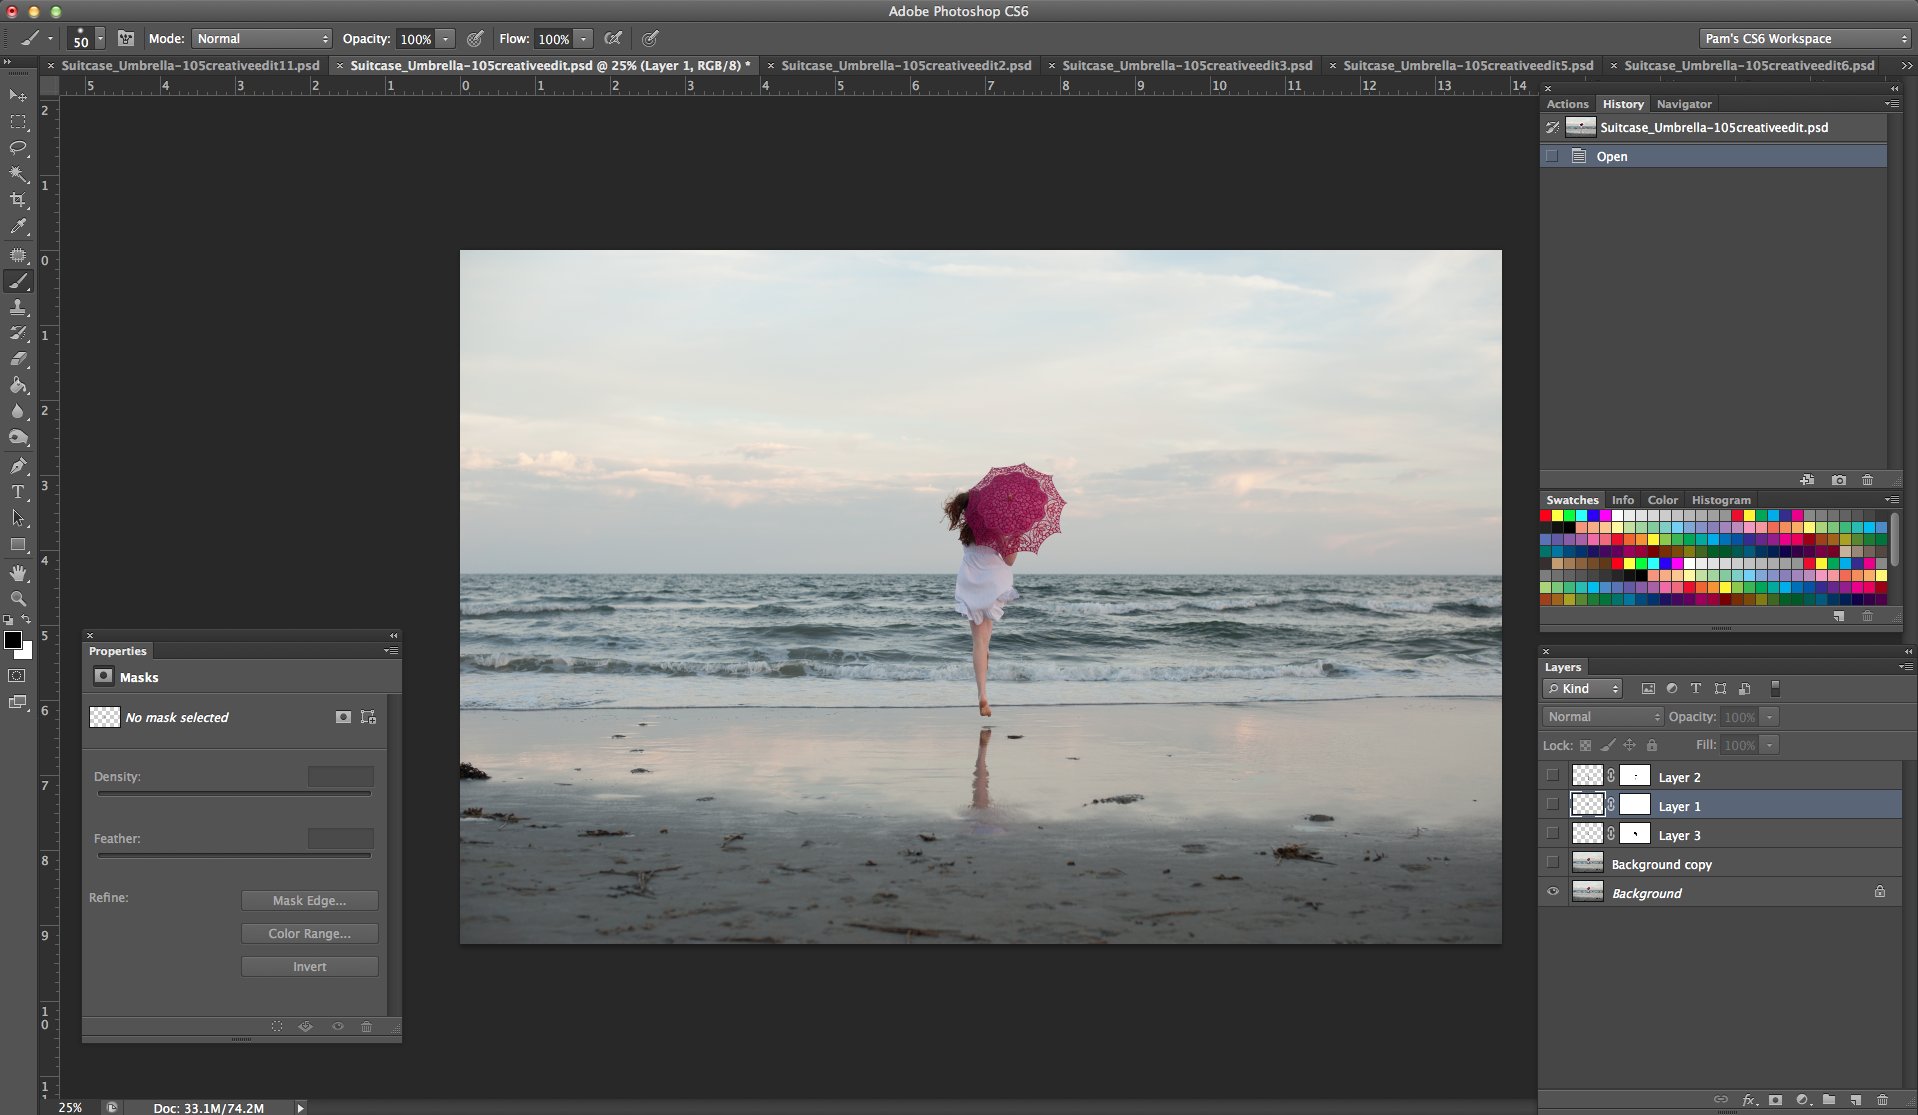
1. To composite in her leg and a new bottom to the dress, I used the lasso tool to select the leg from another image then hit Command C to copy it. I came back to this image and hit Command V to paste in the leg. I then repeated this to bring in the dress. I added a masked to each of these layers and, using a soft brush, I masked off around the leg and dress to blend them in.
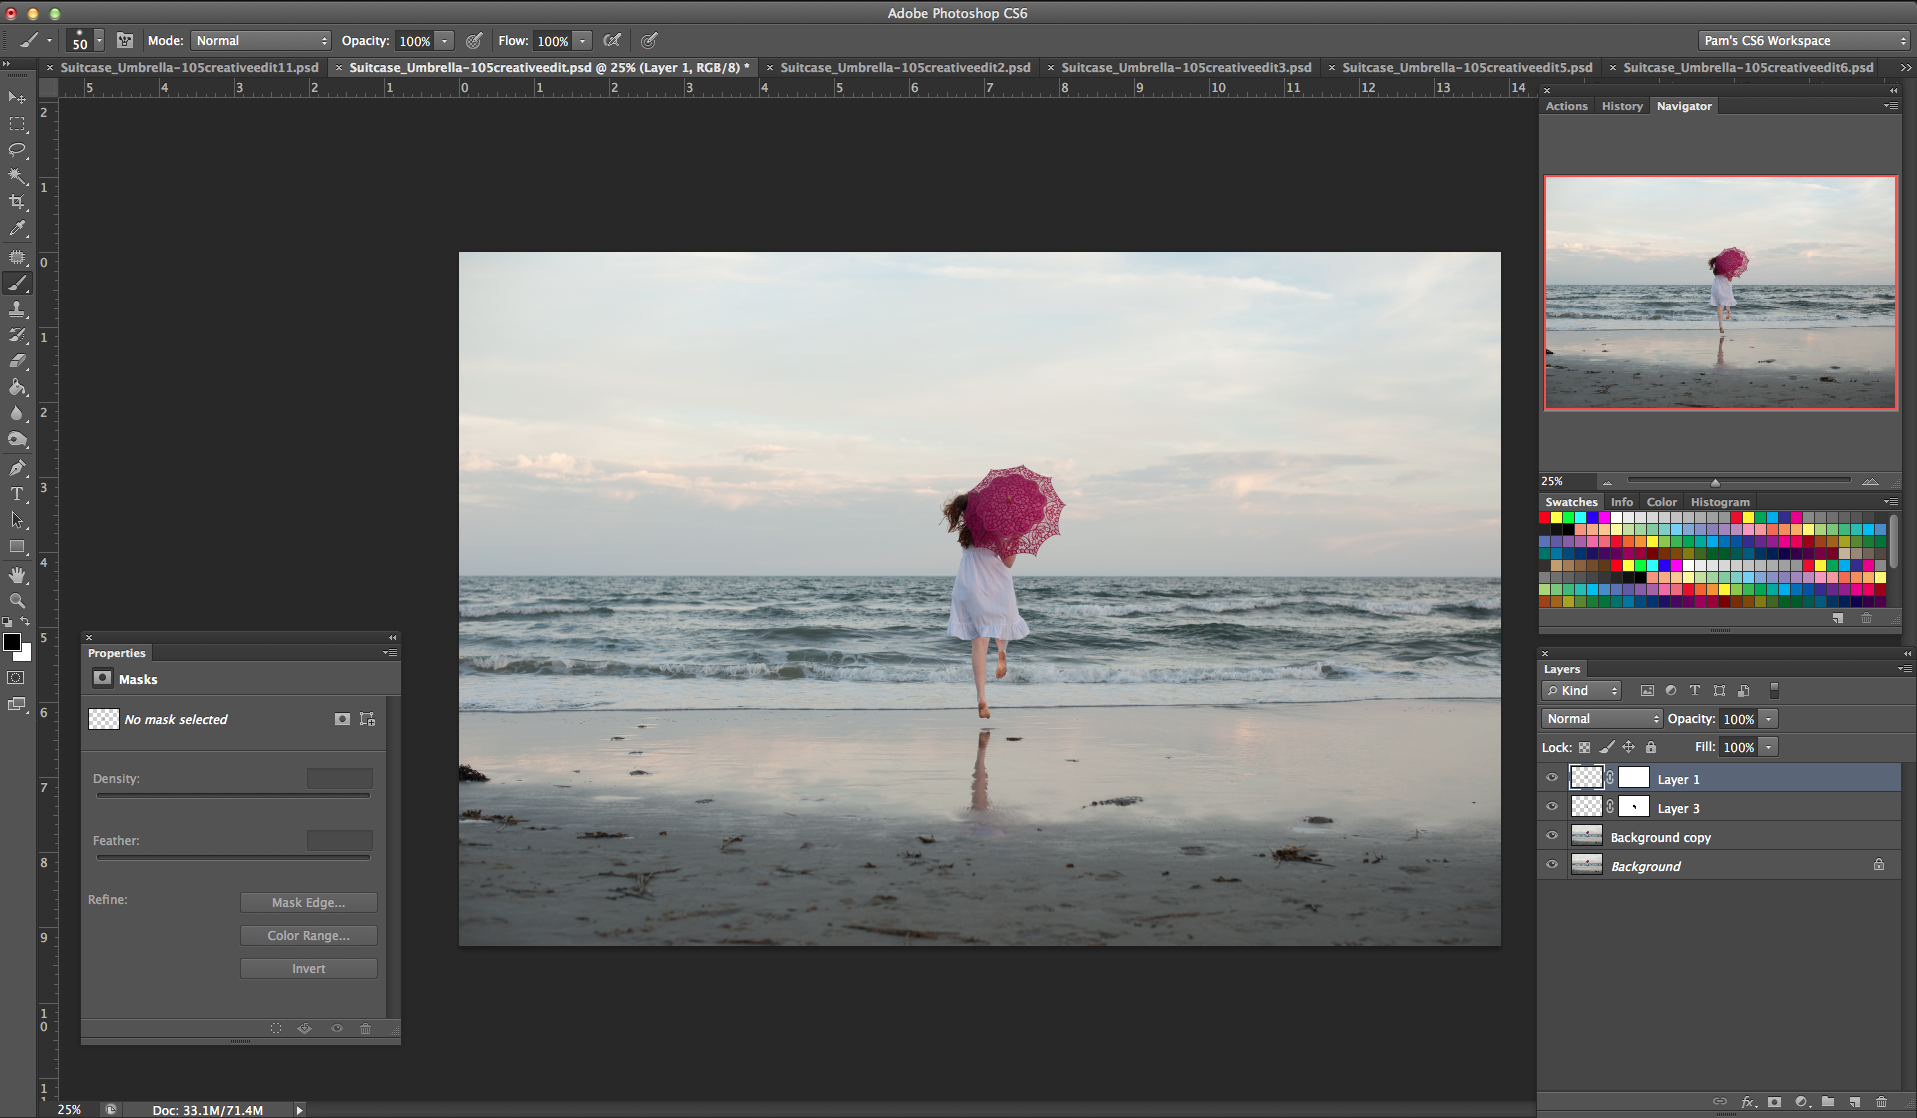
2. I knew I wanted this to be a square crop with the subject in the center. To do this, I used Content Aware Scale to expand the sky and sand so that I could create the crop and keep her centered.
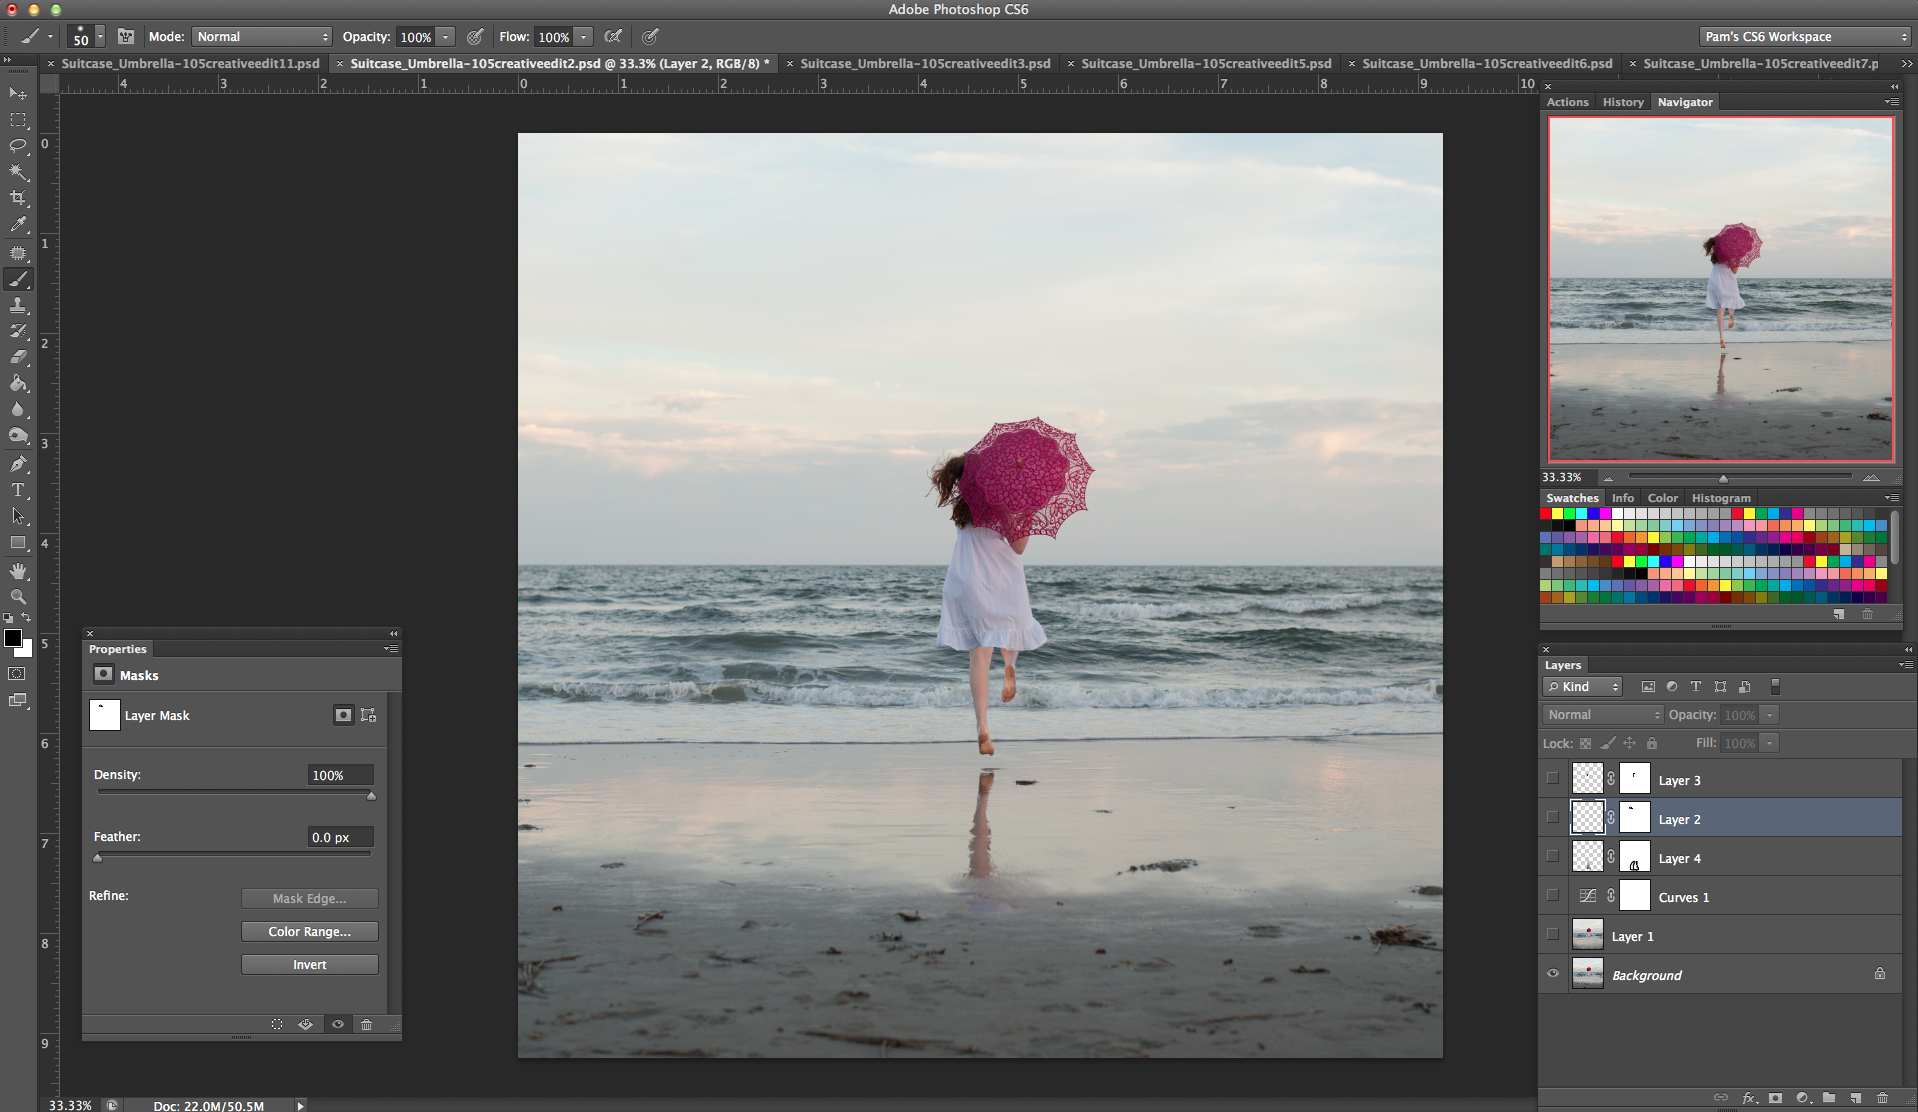
3. Next, I used the clone stamp tool to remove the dry sand and expand the wet, reflective sand across the bottom of the image. I find that using a large soft brush works better than a small brush. The cloning blends in better. I also used the Liquify filter to “poof” out her dress a little more to really play up that sense of movement. (SC4)
4. I decided the image needed a bit of brightening so I used a curves adjustment layer and pulled up, just slightly, on the mid-tones.
5. Next, I copied and pasted in the bird from another image I took during this shoot. (I often take pictures of the area around where I am doing a shoot in case I want to add in any other details later.) To do this, I used the exact same technique as I did in Step 1 above. I continued to do this to bring in the reflection and some extra hair also from another image. (SC5)
6. Now that I had the reflection in place, I wanted to smooth out the sand along the bottom of the image. To do this, I duplicated the layer and used the Clone Stamp tool. I also decided I wanted more clouds at the top of the image so I copied and pasted clouds from another image also from this shoot. Again, I added a mask and blended in the clouds with a soft brush. I also lowered the opacity to about 30% so they were less visible. (SC6 and SC7)
7. From there I felt the image was a bit to bright around the edges so, again using a Curves adjustment layer, I pulled down on the mid-tones. I wanted to keep the brightness around her, so using a big, soft brush I masked this change off the center of the image. I often find when I am editing that I am brightening and then darkening (and then brightening again) different parts of an image as I am editing. For me, editing is an evolving process and I am only able to decide what I want for an image by playing it. (SC8)
8. Now it was time for my favorite part of editing. Playing with the color and creating color toning. For this image, I used both Curves adjustment layers and Hue/Saturation layers to create a warmer, more golden palette for this image. Using Curves, I added red and blue to the shadows, red and yellow to the highlights and yellow to the mid-tones. I did each of these on a separate layer so I could adjust the opacity. With the Hue/Saturation layers, I played with the overall hue and saturation of the sand, water and sky. (SC9-SC14)
9. At this point, I had the image almost finished but I wanted to add some texture.. You can add texture in so many ways. There are textures you can purchase but there are also lots of free ones you can find using Google or on Flickr.
For this image, I decided a texture wouldn’t give me quite the look I wanted. Instead, I decided to use a program I have called Snap Art 3 by Alien Skin. Snap Art basically turns your images into what looks like a painting. For me, that look is often too much so I usually duplicate my image (Command J is the keyboard short cut), run the program on that layer and then turn the opacity down. Although I haven’t tried it, I believe that Photoshop’s Oil Paint filter will do something similar if you want to try that. But you can really achieve this effect, or something pretty similar, by using a texture. For this image, I duplicated my background layer twice and ran Snap Art on each layer. I changed the blend mode of the first layer to Overlay and reduced the opacity to 61%. I changed the second layer’s blend mode to Multiply and reduced the opacity to 39%. (SC15, SC16)
10. My last step with any image is to fine-tune all the little details. In this case, I didn’t like how the hair I added was blending in and I thought her legs looked too bright. I used a curves adjustment and Hue/Saturation adjustment to partially correct her hair and the umbrella. Then I used the Clone tool to do the final fixes. I also used a Curves adjustment to bring down the exposure on her legs. I then sized and sharpened it for print and then for the web and I was done. (SC17-SC20)
If you’re looking for some great Photoshop Actions to help with make your editing in Photoshop easier, I would highly recommend Pretty Actions.
Pretty Actions also has a great set of Actions you can download for free – to get you started.
 Pam Korman
Pam began her photography journey in 2010 when she first picked up a DSLR. She is a dedicated hobbyist who enjoys shooting both digital and film and loves exploring a wide range of photographic subjects, techniques, cameras and lenses. She lives outside Philadelphia with her husband and three energetic teenagers. She happily admits to a coffee and chocolate chip cookie addiction and don’t be surprised if you get an email from her at 5 AM since she loves being up before the sun.
Website | Facebook | Pinterest | Instagram.
Categorized in: From the team, Tips & Tricks