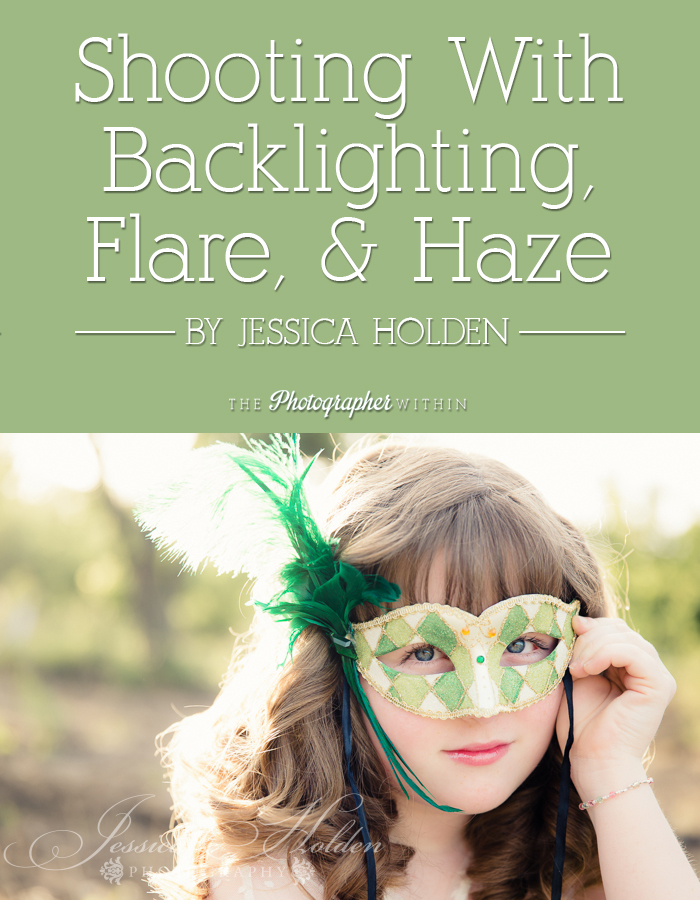
Embrace the Sun! Shooting with Backlighting, Flare, and Haze
I know this can be a fun look to play around with, so I thought it might be helpful to introduce some basic tips!
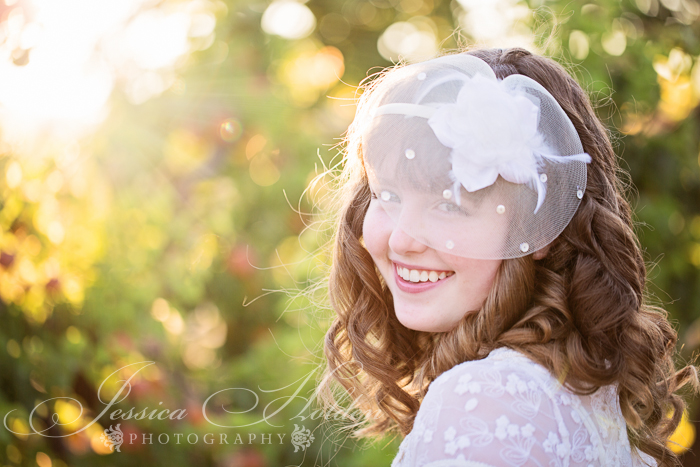
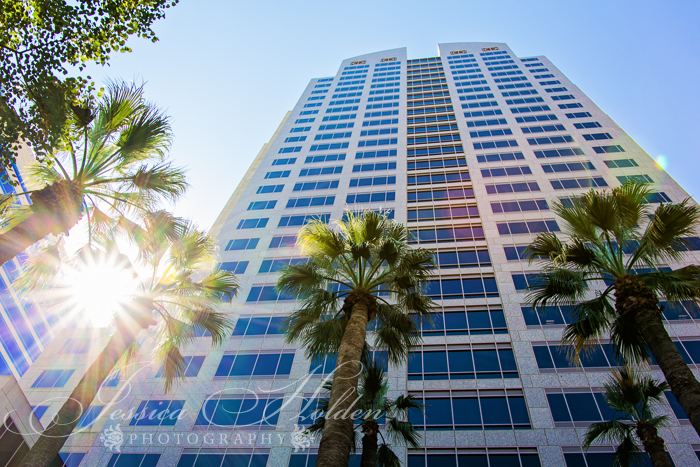
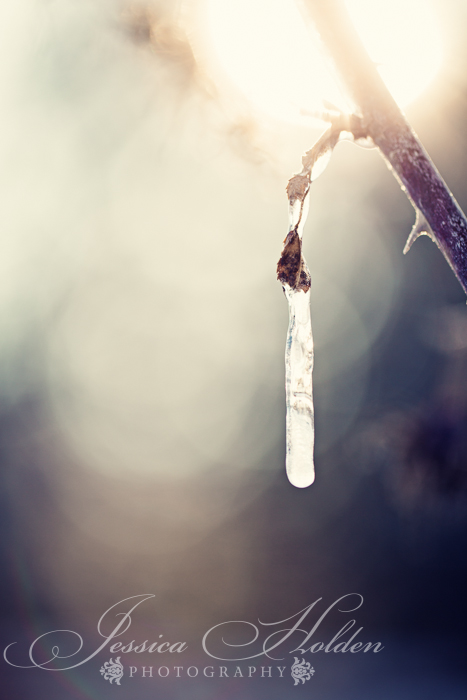
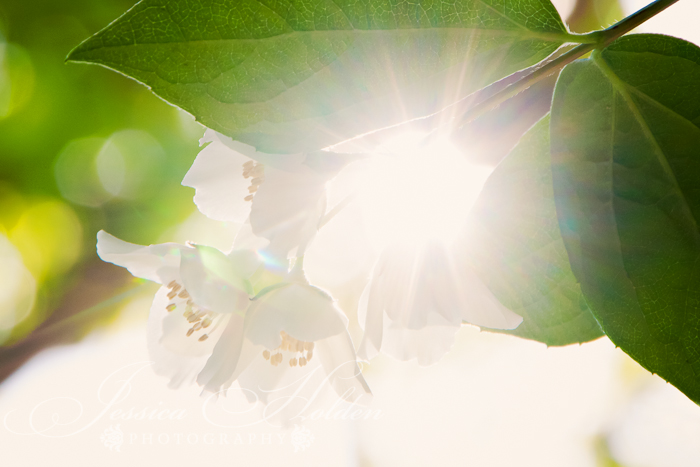
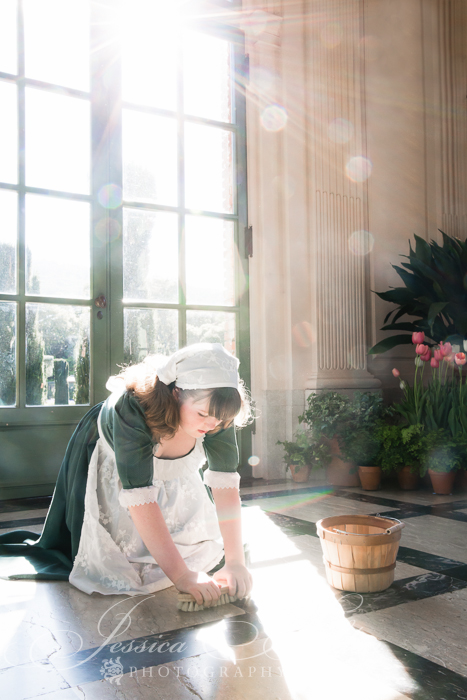
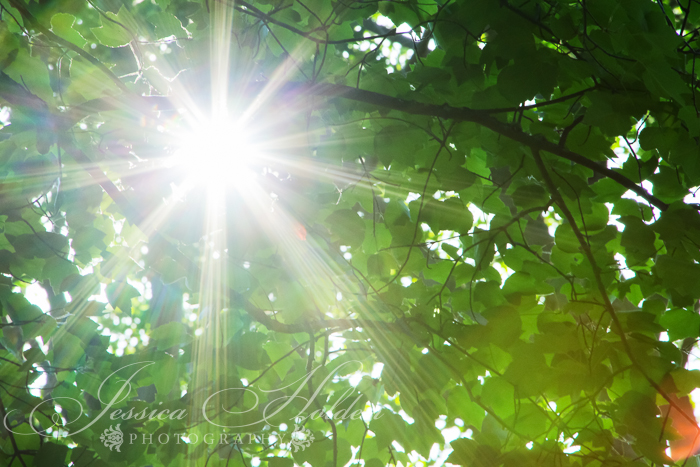
When I am shooting with flare and haze in mind, as with normal shooting, I first select my aperture based on the ultimate feel I am after. I nearly always shoot wide open or close to wide open with children, because I really like the dreamy look it gives to my images. (Note too that shooting at the biggest opening of your lens gives you the closest to perfectly round bokeh, those little circles of light caused by bright spots in your background.) A higher aperture (above, say, 13) will give you more of a starburst effect but of course will also make your depth of field bigger, so more of your background and foreground will be sharp in addition to your subject—I like that for landscape and architecture images. (Note that when shooting stopped down (with a small opening—higher number), it sometimes helps to have the sun partially blocked by something: a building, a fencepost, a tree, or your subject, or even just by having the sun on the very edge of your frame—often that increases the starburst effect.)
I find that spot metering works best with flare. I also shoot in RAW to give me that extra advantage later in editing if I need it (to compensate for haze or exposure that was slightly off). And I will often prop up a reflector to get some catchlights in my subject’s eyes, since the main light source will be behind her. Even my wearing a white shirt will help with catchlights.
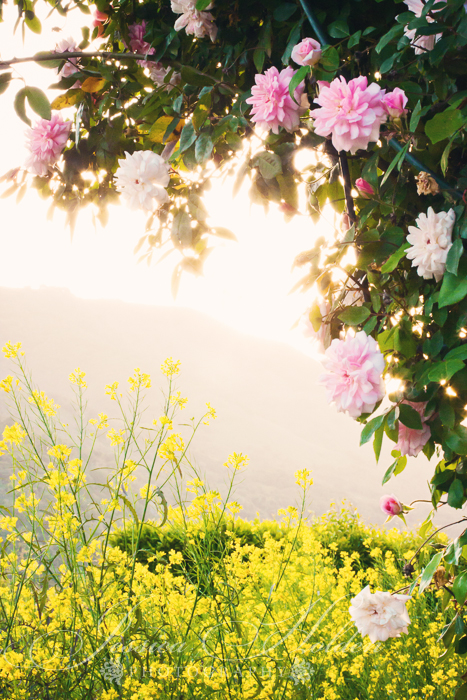
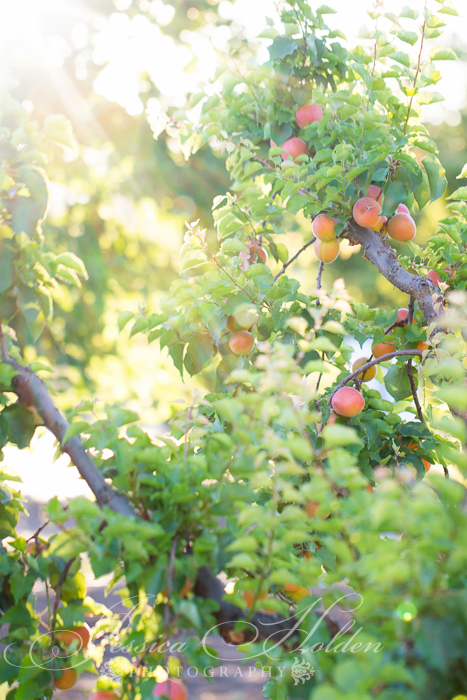
I also generally prefer to shoot when the sun is lower (most often during the golden hour, very close to sunset) so I can actually get the sun actually in the shot (though you don’t have to have the sun in your shot–it just needs to be near enough to your frame to get the effect). The sun should be behind and above or to the side of the subject, so that the light is in some way aiming into the lens at an angle; just make sure you can see the flare retained in the viewfinder. Note that when the sun is that low, it is moving somewhat quickly in relation to the horizon (or whatever it’s setting behind, whether it be a fence, a building, or a mountain range), so you won’t have a lot of time to play before it disappears. I err on the side of starting early so I can fiddle with my settings before the sun gets to its “perfect” spot, because it doesn’t stay there for long!
I use my hand to shield the lens from the direct sunlight (since the sun will trick the camera’s meter if it’s not blocked, leading to underexposure), and I manually set the meter with the sun blocked (I find that Canons tend toward underexposing for my taste, so I set my exposure to about +2/3). I meter off the skin on my subject’s face (or on whatever it is in the frame that I want to be exposed correctly). (Note that when you remove your hand, the meter will tell you you’re way off, but just ignore it.)
You will also need to block the sun from the lens with your hand to focus. With flare especially, I use BBF to focus. With the lens still shielded by my hand, I focus with the BBF button, and then let go of the button (which locks the focus) and remove my hand and shoot. (I find if I try to focus with the flare in the frame, the lens often can’t find focus.)
After I’ve set my exposure and focus, I remove my hand and recompose ever so slightly to control the angle of the flare. Just re-angle your camera a tiny bit, tilting ever so slightly to the left or right, up or down, so you can see where the flare will be before snapping. (I know re-angling the camera after focusing (i.e., recomposing) can be bad for focusing (especially when shooting wide open), but generally when I am going for flare, I am far enough away from my subject that the depth of field is large enough even at wide-open apertures that I can get away with the slight recomposing.)
Sometimes it helps to push that little aperture preview button (also called the Depth of Field Preview button) on the camera near the base of the lens too to see exactly how the flare will be with your chosen aperture. (I shoot with a Canon, and on my camera there’s a little button beneath the lens to check with, but I am not sure about other makes–check your manual.) (Note too that pushing that little button might make the shot look quite dark in the viewfinder–don’t worry about that as you will have compensated with your shutterspeed when metering to form the correct exposure; the button is only showing you the depth of field (and in this case, your flare) for your selected aperture by closing up the little blades in your lens to the aperture opening you’ve selected.)
Then shoot away! You might be a bit blinded while shooting as the mirror pops up and down (the mirror is in effect bouncing the sun directly and repeatedly into your eyeball–LOL!), but it’ll work. Check your images and adjust your metering and/or camera angle as necessary to change where those colored circles or haze appears. An ever-so-slight change in camera angle will drastically change the placement in your frame of those little circles of flarey light. With flare, I find that angle is everything, and the smallest change in the camera’s angle makes a world of difference. I prefer for flare not to land on faces or anywhere else where it distracts from the image rather than adding to it, and it’s all personal taste!
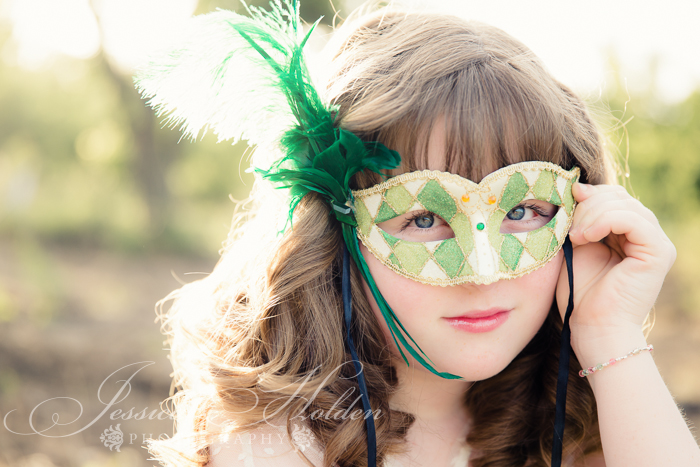
Also your shots might look a tad underexposed and hazy on the LCD, but that’s OK for these shots because of all the wild light bouncing around in there. I feel that my flare and haze shots have to be edited a bit–I pull up the blacks a little (and maybe the saturation and warmth) to add some clarity and punch, and I normally need to fine-tune the exposure. I also sometimes increase the saturation, depending on the colors in my image (you need to be careful with skin in doing this). Another trick in CS is to create a duplicate layer of your image and then change the Blend mode to Soft Light, adjusting the opacity of that layer to your liking—that will also add a little punch if your image is overly hazy.
I also like to play with different lenses, too–I find that each has its own flare “personality” with regards to the shape of starbursts and the look of the flare. Also I have been known to practice with a doll—they don’t seem to tire of my camera as quickly as people!
Have fun, and feel free to ask me questions. And I’d love to see what you come up with!

Jessica Holden
A native of the San Francisco Bay Area she calls home, Jessica Holden is a photographer, freelance book editor, and mom with an eye for capturing the everyday moments and ordinary things that make life extraordinary. As a little girl she was mesmerized by watching her grandfather create masterful charcoal renderings of sun-streamed redwood groves; since she can barely sketch stick figures, she tries to achieve that same radiance with her camera. In her ideal world, she’d shop at Anthropologie, explore the backroads of Italy, and sip cappuccino out of porcelain cups in European cafés. In this one, she shops at Target, visits castles in Disneyland, and settles for cappuccinos in paper cups at Starbucks. And she wouldn’t change a thing!
Tags: backlighting, camera settings for backlighting, flare, haze, photography tutorial
Categorized in: From the team, Tips & Tricks


2 Comments
These are such wonderful tips Jessica! Your use of light is really beautiful!
Thank you, Allison!