
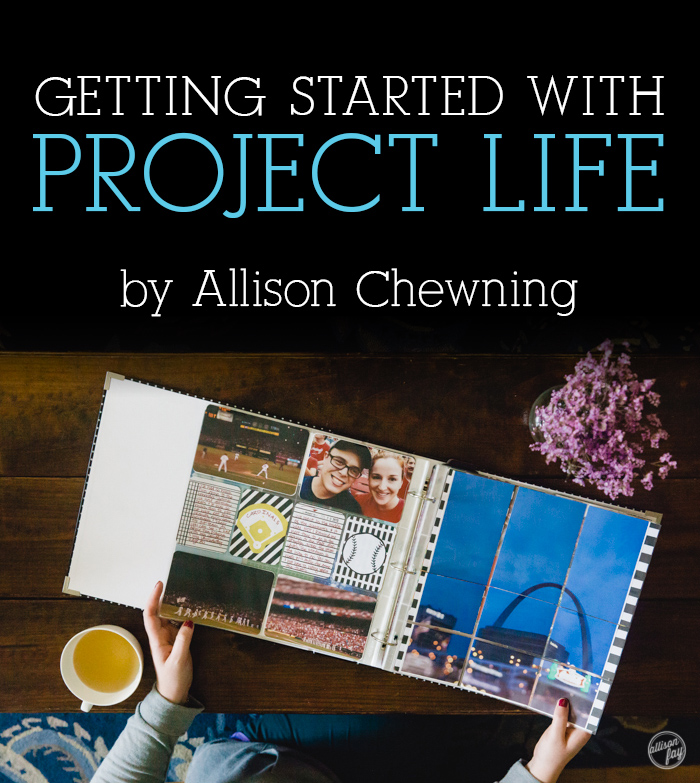
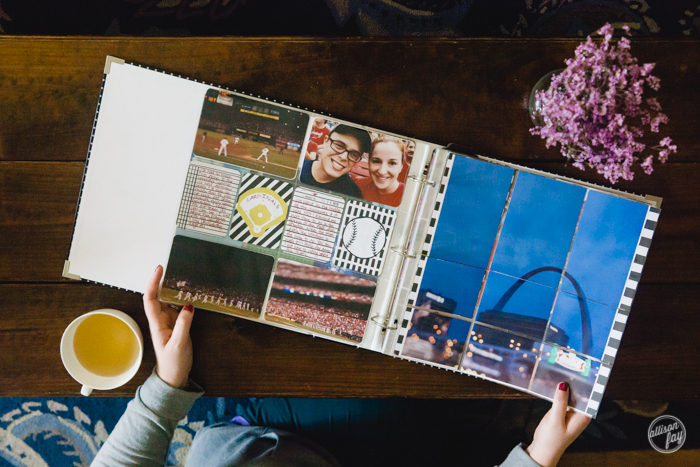
Scrapbooking with Project Life
We would all love to get our images off of our hard drives and into the hands of our families, wouldn’t we? The task just sounds so overwhelming though. Fear not! Allison Chewning is sharing her experience with an efficiently brilliant scrapbooking system called “Project Life.” When we saw her beautiful memory books, we were inspired to create our own.
 As photographers, we take lots of pictures. Portraits of our loved ones, iPhone snapshots of our daily lives, Instagram pics of a beautiful sunset at the end of a wonderful day- we’ve got it all. But what do you do with your pictures? Do you print a few pictures a year to hang on the walls of your house? Do you have them together in one place in a way that tells your story? Do you print them at all?
If you are anything like me, the answer to most of those questions is no.
I was determined to get my pictures printed, to have them stored somewhere other than my hard drive and shared somewhere besides Facebook. I wanted a method of telling our story- something that is quick and simple, allows me to work at my own pace, and flexible enough that I can get creative and make it my own.
Enter: Project Life
Project Life is a form of pocket scrapbooking developed by Becky Higgins. Many people think you have to do one spread per week, or take a photo a day, but that is not the case. I’m currently working on one album for 2013 that averages about 1 spread per week, and another that tells the story of how my husband and I met, fell in love, and got married which will span close to 5 years. The beauty of Project Life is you can customize it to fit your time schedule, needs and style.
Step 1: Print Your Pictures
For me personally, my Project Life albums are not a form of my portfolio. It’s a way to tell the story of our life- so I mix all of my favorite photographs, whether it’s a blurry iPhone snapshot of my niece’s goofy face or a portrait of my husband taken with my DSLR. Therefore, while the quality of the prints is important, cost is definitely something to think about. My grandchildren are most likely not going to care if I print at a convenient and affordable lab that doesn’t get the color exactly right. So, to keep it affordable, that is exactly what I do! I print almost everything in a 4 x 6, and add bigger prints as I go along if I find the need. If you decide you want to print pictures with the corners rounded or in the 2 x 3 size , Persnickety Prints is a great option. Printing at home is another option that is very convenient, but could get expensive.
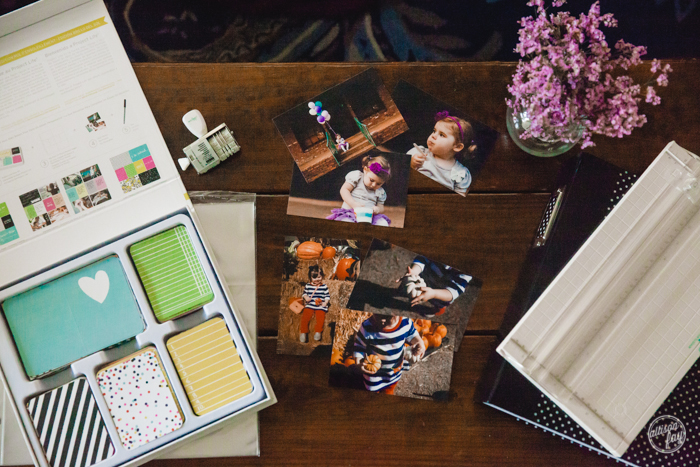
Step 2: Gather Your Supplies
Project Life is sold online, at craft stores like Hobby Lobby and Michael’s, and at many scrapbooking stores.
Here are a few things you will need to get started:
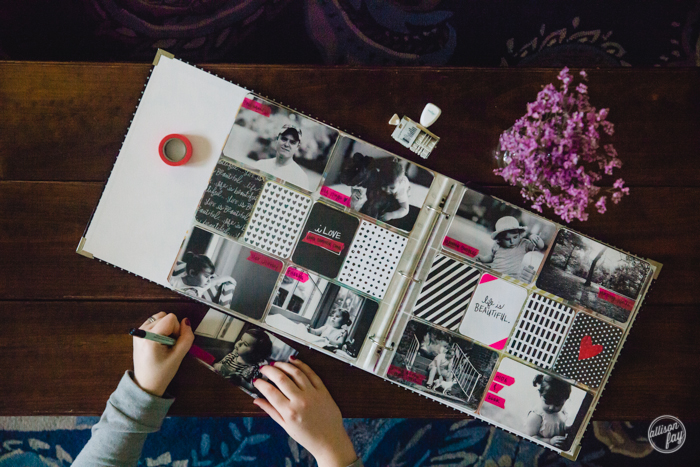
Pocket Page Protectors– These are exactly what they sound like- clear page protectors with individual pockets sized 4 x6 and 2 x3. They come in sets and you can choose between one basic layout or a variety pack of several different layouts.
Project Life Core Kit– A core kit is a box of pre-printed cards used in the blanks. Some cards are just decorative patterns, and some have dedicated lines perfect for journaling. There are so many different designs to choose from and you can mix and match cards from different kits in the same album, but I recommend keeping it simple by just sticking with one or two kits until you get in your groove. The Sunshine Edition and The Midnight Edition are my two favorites, and the ones I picked for my first album.
3-Ring Album– There are several that are designed specifically for Project Life that match certain Core Kits, but you can also buy any 3-ring binder that will hold a 12×12 page protector.
Acid Free Pen or Marker– You’ll most likely want to fill in some of your cards some sort of journaling- names, dates, events, quotes, and other details of your life that you will want to remember. Start with black, but remember that colored pens and markers can also be used for decoration and doodling.
Optional/Additional:
Corner Rounder– Project Life cards come with rounded corners, so to keep things uniform, you might want to round the corners of your photographs as well.
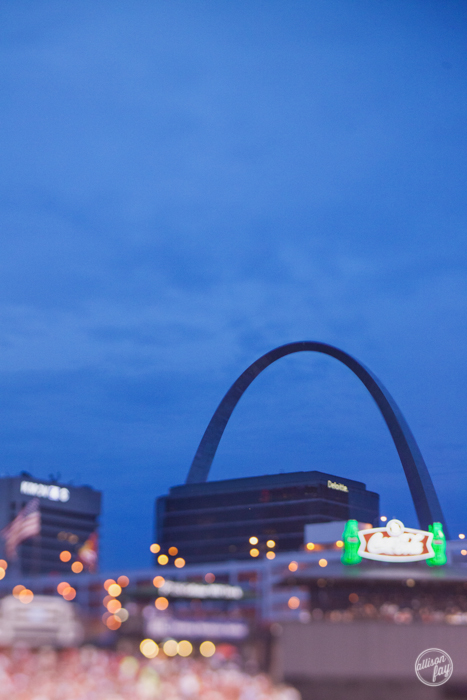
Paper Slicer – I cut many of my 4 x 6 photos down to fit the 2 x 3 size, and my paper cutter comes in very handy because it makes it easy to cut straight lines quickly. I also use it to cut up larger photographs and create a full page photograph.
Washi Tape– In my opinion, washi tape is one of the simplest, cheapest ways to add a little something extra to your Project Life pages. Since I’m determined to keep this simple enough to continue, washi tape is one of the only embellishments I allow myself to use.
There are endless choices of other supplies and embellishments you can add to your tool kit, but like I mentioned, I’m determined to keep the simply for the sake of my sanity, my storage space, and my wallet.
Step 3: Fill in the Pockets
Once I have my pictures printed, I loosely organize them chronologically, or by big events. Then, I just flip through the sheets and pop in the pictures! After I have a page filled with all of the photographs I want to use, I fill in the empty pockets with cards from my core kit. I try to sick with a color story for each spread to make it a little more polished.
Step 4: Add Journaling and Embellishments
My last step is going back and journaling on the journal cards, and adding a few extra decorations and embellishments. If you are super organized, you can create a note in your phone or write an e-mail to yourself every day or every week, documenting the details of what you did that week, cute quotes from the kids, or moments that you want to be sure to remember. Then, if it happens to be weeks or months later when you sit down to put together your album, you can easily recall those details for your journaling cards.
Step 5: Make It Work For You
As you go, continue to experiment- you’ll quickly find your “scrapbooking style.” I like to keep the focus on my pictures with a clean layout, coordinating colors, and just a few simple extras. Some people like to fill every empty space on the page and layer to their heart’s desire. Others prefer a very minimalistic style, with mostly white cards that they design and print themselves
The beauty of this type of memory keeping is it’s versatility- you can make it as simple or as extravagant as you like. You can do a week at a time, work on it every few months when you get a chance, or print all of your pictures from a year and spend a whole day knocking out an album. Work at your own pace, do what works for you, and remember that this is your story, so tell it the way you want.
No matter how it turns out, you’ll be happy you have it. The details like which core kit you use and making every picture perfect aren’t important- what is important is that you get it done. Print your pictures, jot down the special things, and create a memory album that will be passed down and cherished.
*Project Life is just one of many ways to create a memory album. There are many other brands and methods of pocket scrapbooking.
 Allison Fay Chewning
Allison is a photographer living in Memphis, TN with her husband and two fur babies. She shoots portraits along with anything else that catches her eye with a Canon 5d Mark II and assorted lenses. Allison enjoys reading and traveling, and is a self-proclaimed Harry Potter and Peyton Manning fanatic.
Tags: memory book, photo keepsake, print your photos, scrapbooking for photographers, simplified scrapbook
Categorized in: From the team, Tips & Tricks
4 Comments
I love the albums that you have been creating Allison! Great article!
This is great! I love Project Life and this year will be my second year using it. I love the look and like that it’s simple enough and easy enough to accomplish, and it lets me get beautiful albums while I focus on the photography side!
This is fantastic, Allison! Thank you so much, I need to get my pictures off my hard drive!!! Beautiful!
Love this! Great job Allison! I’m such an advocate of printing your favorite pictures, your pages are beautiful!